A manual task – no matter how simple or easy it is – when done repetitively means a drain on productivity. And in terms of data consolidation, this can also mean inaccuracies, duplications, data siloes, and needless time-consumption.

Moreover, organizations often feel burdened by paperwork, which demands hours of manual work along with hidden costs of storage, supplies, environmental impact, delivery, compliance risks, and wasted administration hours spent on processing, approvals, and audits. Lost or inaccurate forms exacerbate these issues, further impeding effective decision-making and operational efficiency.
In such scenarios, form automation can feel like pressing the autopilot button, allowing for a takeover on repetitive, error-prone tasks to ensure a simplified and seamless process. That’s probably why this industry is expected to reach over USD 1,780 million by 2034. This highly adaptable tool can be customized to perform multiple tasks – from managing customer feedback to onboarding employees.
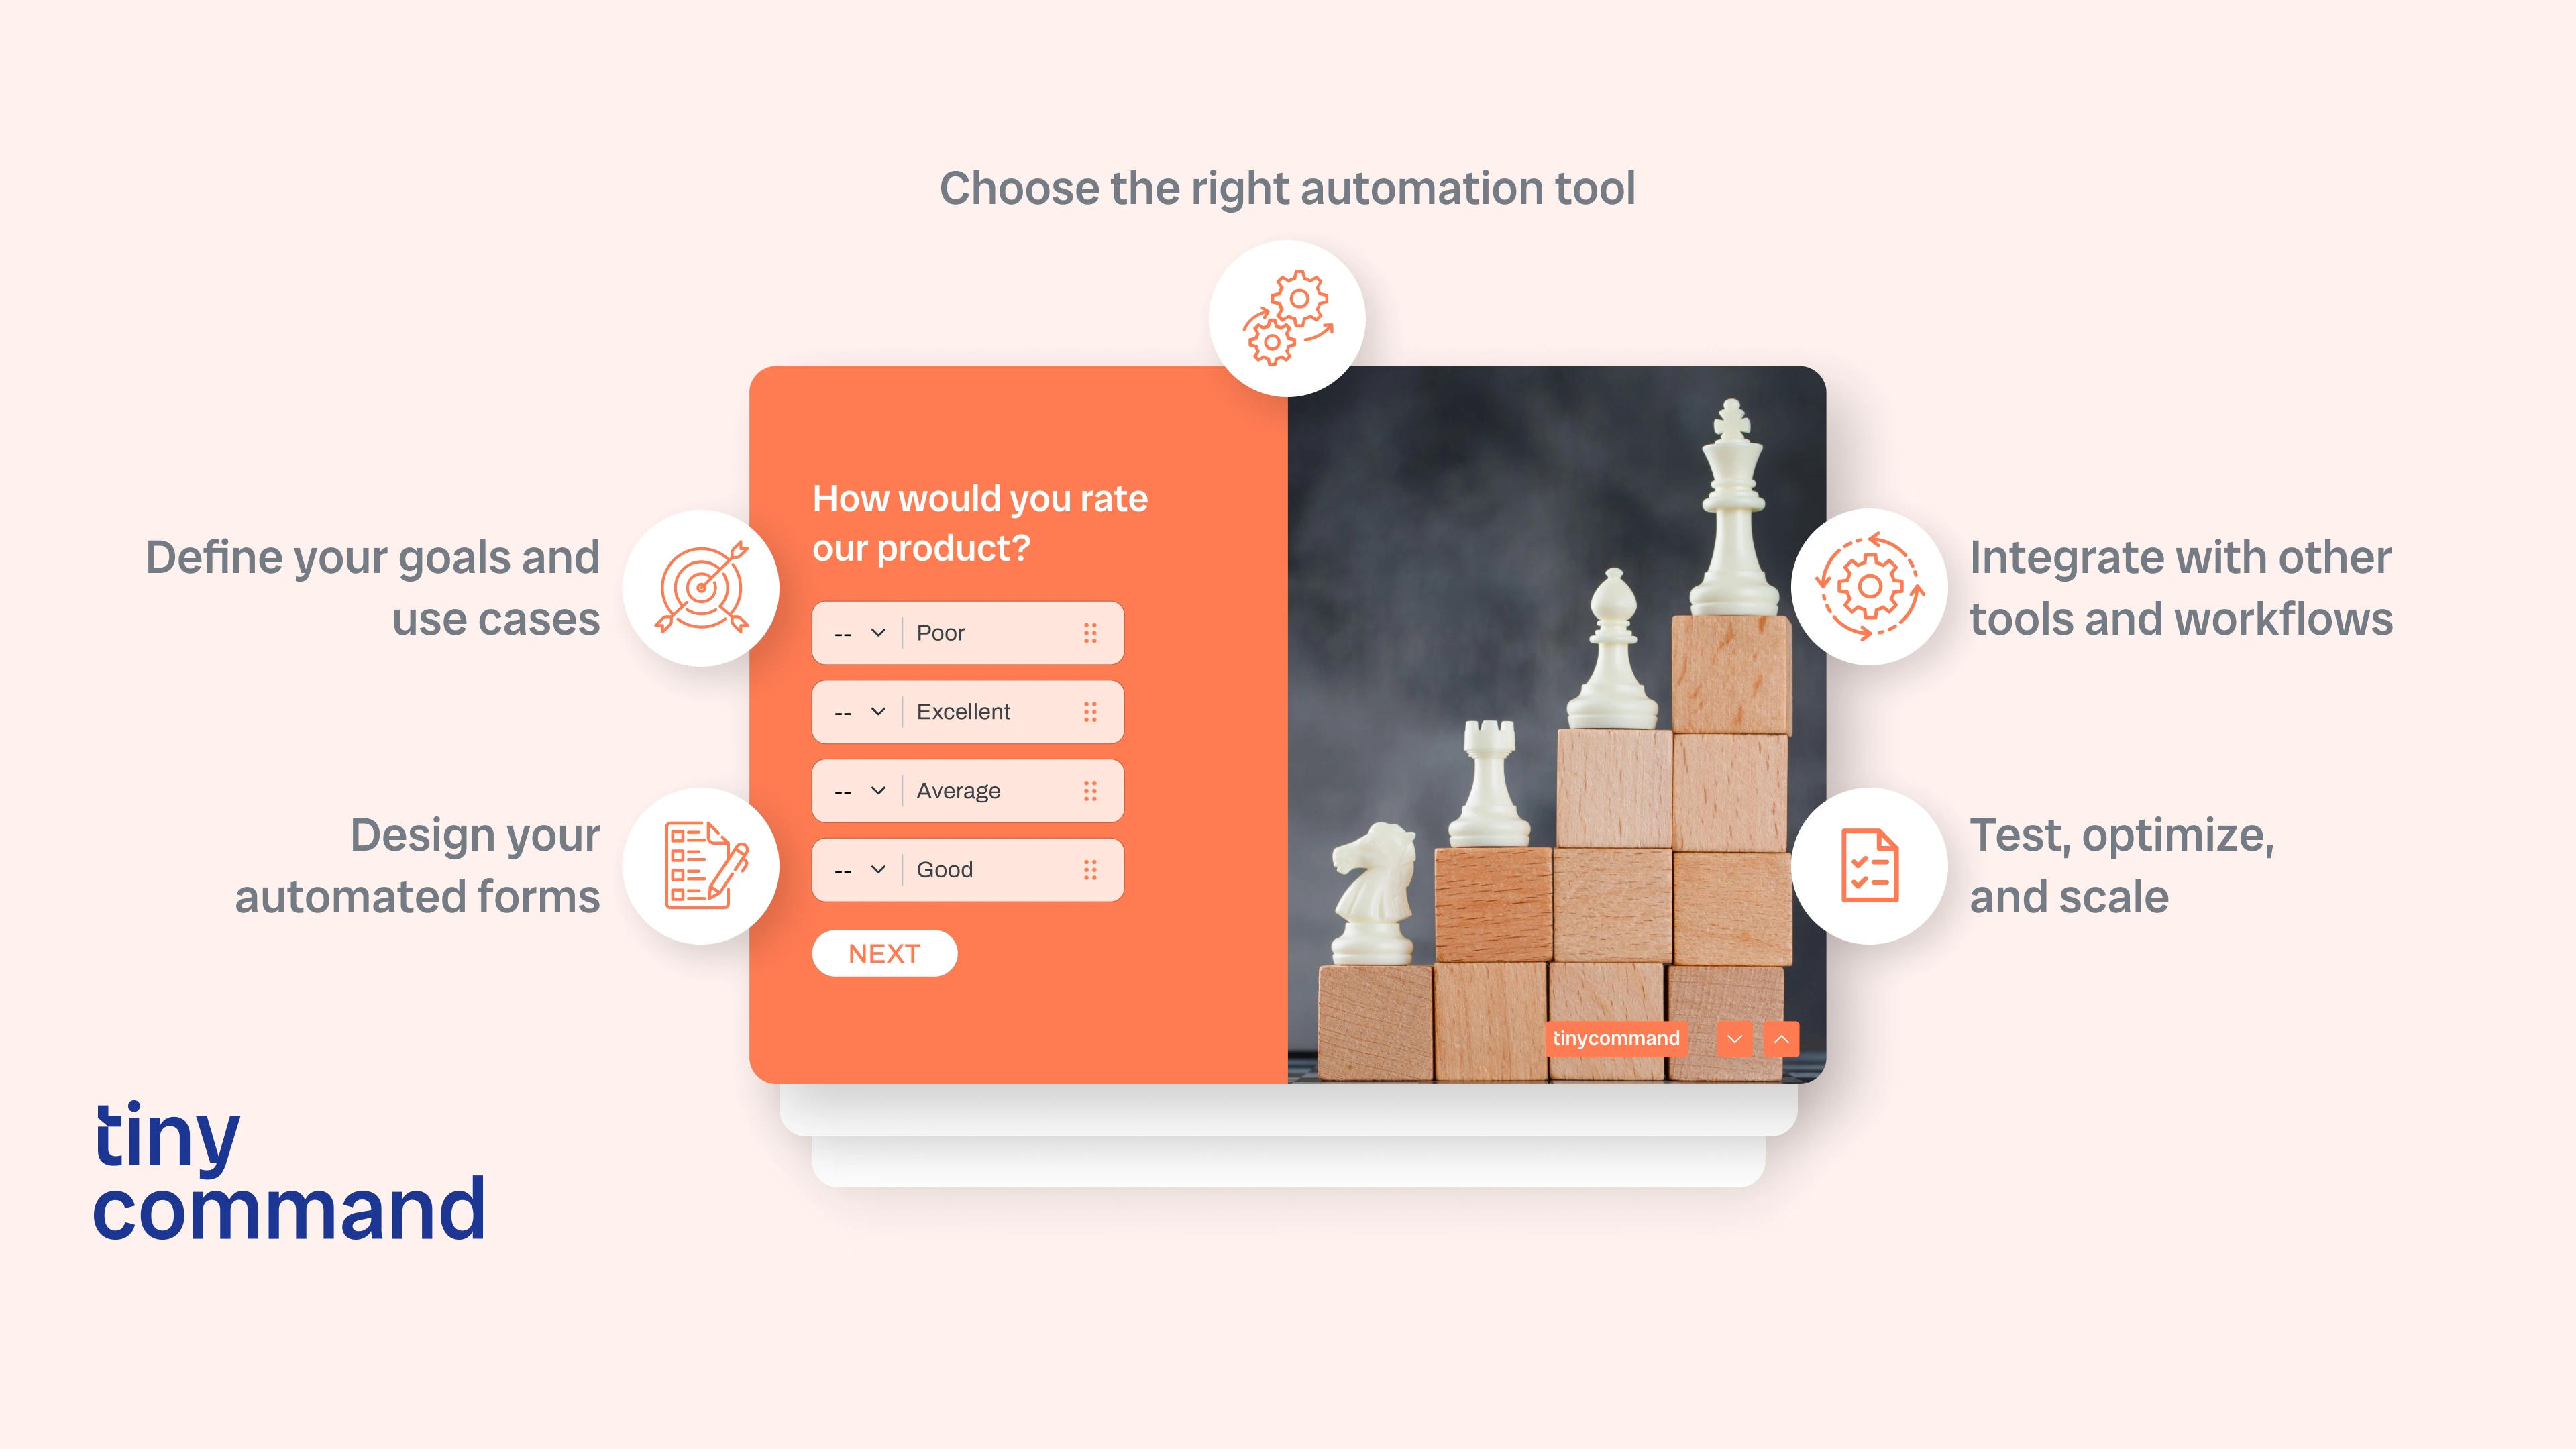
Steps to get started with form automation :
Step 1: Define your goals and use cases
Automation comes with endless possibilities. However, this can quickly turn into a liability if not utilized correctly. For instance, implementing automation without first analyzing your goals and objectives can lead to challenges down the line. Without a clear framework, it becomes difficult to measure progress and evaluate the effectiveness of your automated processes.
To beat this, start by identifying why you need form automation in the first place. Is it for faster data collection or seamless integration? You can also decide the goals based on tasks you wish to accomplish with form automation. Evaluate and then create a priority list of all you want to automate.
Step 2: Choose the right automation tool
Once you know the workflow and your priorities, look for the most suitable form automation. It’s important to note that not all automation tools provide every feature you might need. Some may offer advanced functionalities, but their cost might exceed your budget. A prudent approach is to identify your "must-have" features and determine which aspects you can compromise on, ensuring you strike the right balance between functionality and affordability.
Then narrow down the list of automation tools based on your selection criteria. Look for tools that offer free trials, like TinyCommand, taking the time to learn more about the tool and then making the final decision based on features like customizable templates, integration capabilities, user-friendly interfaces, and intuitive analytics.
Step 3: Design your automated forms
Forms may not be inherently exciting, but their design can be engaging and user-friendly to reduce user fatigue during the completion process. Start by researching best practices for using automated forms and exploring inspiring examples online to understand how to create forms that are both functional and appealing.Here are a few tips for automated form creation if you are a beginner:
- Keep it simple and short. Avoid adding too many form fields that can distract users and lead to form abandonment.
- Humans make mistakes. So, add clear error messages to guide them.
- Use conditional logic to show only relevant questions.
- Indicate whether each field is required or optional (unless all fields are required).
- Include your company’s logo in a prominent location, such as the header or footer of the form to ensure consistency.
- Make things easy for users by adding automated suggestions and using saved data.
Once you have a prototype ready, test it out and see if it's functional and user-friendly before launching.
Step 4: Integrate with other tools and workflows
Integrate your forms with tools like CRMs, email marketing platforms, or project management systems to make everything run smoothly. This step helps data flow seamlessly between different tools. For example, syncing form responses with your CRM can automatically update customer profiles in real-time, saving you time and reducing mistakes. Before implementing the automation, take a moment to map out your ideal workflow and verify that your tools support the necessary integrations. This proactive approach ensures seamless compatibility, allowing your systems to work together effortlessly while enhancing your team’s overall efficiency.
Step 5: Test, optimize, and scale
Creating automated forms is one thing and determining if they work successfully is another. Run different test submissions to see if there are any glitches or bottlenecks. You can also use A/B testing to compare different versions of your forms and see which one performs better. Don’t forget to use analytics to track their performance. A few of the common metrics you can check are:
- How many users are filling out the complete form?
- What is the form abandonment rate?
- What’s the average time taken to fill out the form?
- How many users drop off at specific fields or questions?
- What is the conversion rate from form submission to the next step (e.g., signing up, making a purchase)?
After conducting sufficient tests and collecting actionable data, evaluate what works and what needs improvement to refine your automated form. Once optimized, consider replicating the process for other areas of your business to maximize efficiency and consistency across workflows.
Getting started with form automation is no longer a tough task - there are pre-made templates, simple drag-and-drop elements, and user-friendly designs. All you need to do is do a bit of research and select the right tool.
If you’re interested in learning more, speak to our experts.
Recommended Blogs